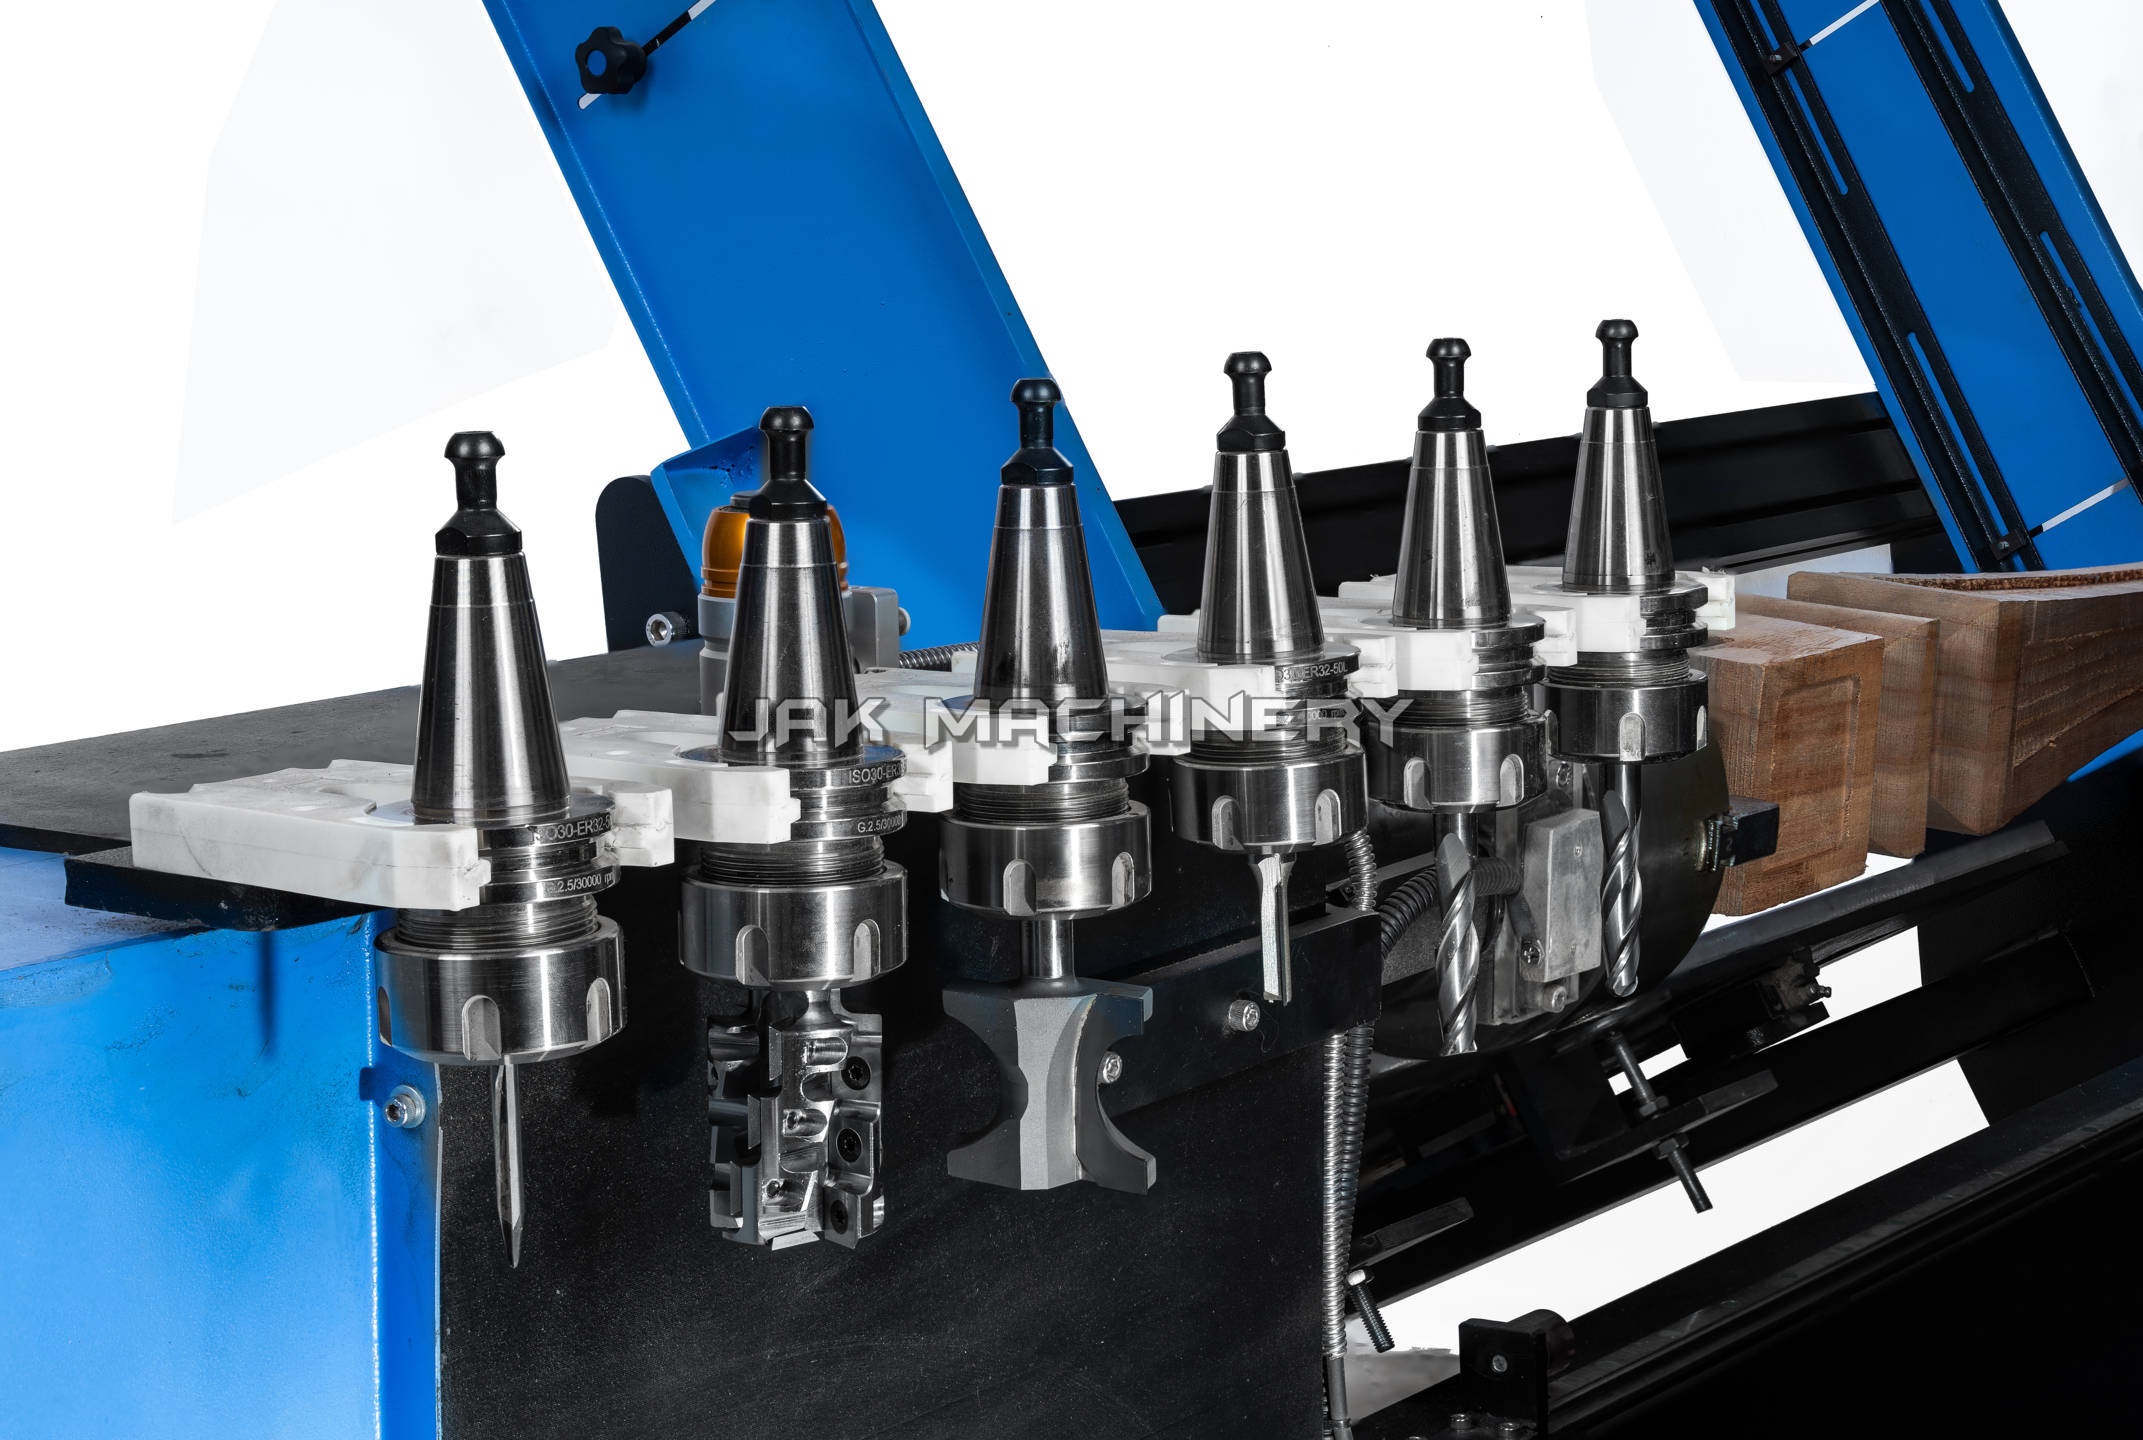
ATC - Auto Tool Change Auto tool change (ATC) allows for the automatic swapping of cutting tools during the machining operation without manual intervention, significantly improving efficiency and reducing downtime.
Here's a brief description of how it works:
Tool Magazine: The ATC system typically includes a tool magazine that stores various cutting tools. These tools can vary in type, size, and shape depending on the machining requirements.
Tool Selection: The CNC program specifies which tool is needed for each machining operation. When it's time to change the tool, the CNC machine sends a signal to the ATC system indicating which tool is required next.
Tool Change Mechanism: The ATC system uses a mechanism, such as a rotary carousel or a linear rack, to retrieve the designated tool from the tool magazine.
Tool Exchange: Once the correct tool is positioned, the ATC system engages with the spindle and exchanges the current tool with the new one automatically.
Tool Verification: Some ATC systems include sensors or probes to verify that the correct tool has been loaded and that it is properly seated in the spindle.
Resume Machining: With the new tool in place, the CNC machine can resume the machining process without interruption.
ATC systems significantly enhance productivity in manufacturing environments by reducing setup time, minimizing human intervention, and allowing for continuous, uninterrupted machining operations
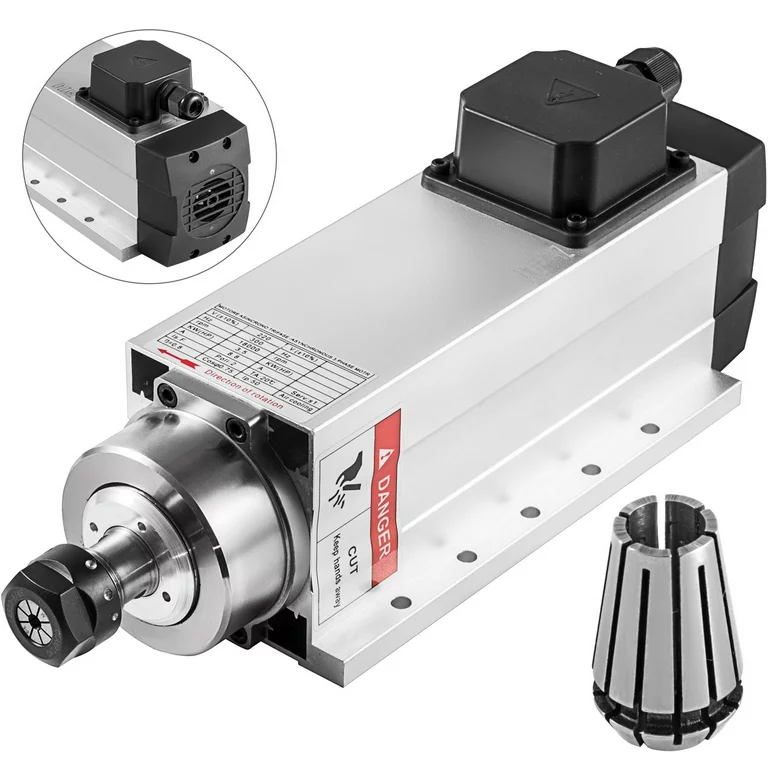
MTC - Manual Tool Change
Manual tool change refers to the process of physically replacing the cutting tool in a CNC (Computer Numerical Control) machine by the operator. Manual tool changes require human intervention.
Here's an overview of the typical steps involved in a manual tool change process:
Stop the Machine: The operator stops the CNC machine to ensure safety during the tool change process.
Retract the Current Tool: If the current tool is engaged with the workpiece, it needs to be retracted or moved to a safe position where it won't interfere with the tool change.
Release the Tool Holder: Depending on the type of tool holder used (e.g., collet, chuck), the locking mechanism is released to free the tool from the spindle.
Remove the Current Tool: The operator manually removes the tool from the spindle. This may involve using tools such as wrenches or keys to loosen the tool holder.
Insert the New Tool: The operator selects the appropriate tool for the upcoming machining operation and inserts it into the spindle. Care must be taken to ensure proper alignment and secure seating of the tool.
Secure the Tool Holder: Once the new tool is inserted, the operator secures the tool holder by tightening the locking mechanism.
Check Tool Length: Before resuming machining, it's crucial to verify that the length of the new tool is properly set to avoid collisions with the workpiece or fixtures.
Resume Machining: Once the new tool is securely in place and verified, the operator can resume machining operations.
Manual tool changes require careful attention to detail and precision to ensure that the correct tools are used and properly installed. While they may take longer than automatic tool changes, manual tool changes are still commonly used in certain applications, particularly in setups where tool changes are infrequent or where the cost of automatic tool changers is prohibitive.
Address
Plot no 35, Himson Mill Compound, Bhuilding A, Hiralal Colony , A K Road, Surat , Gujarat 395008 , India